Shifting like the pros: The 7 most common mistakes when setting up the rear derailleur
Stefan Frey
· 03.05.2026


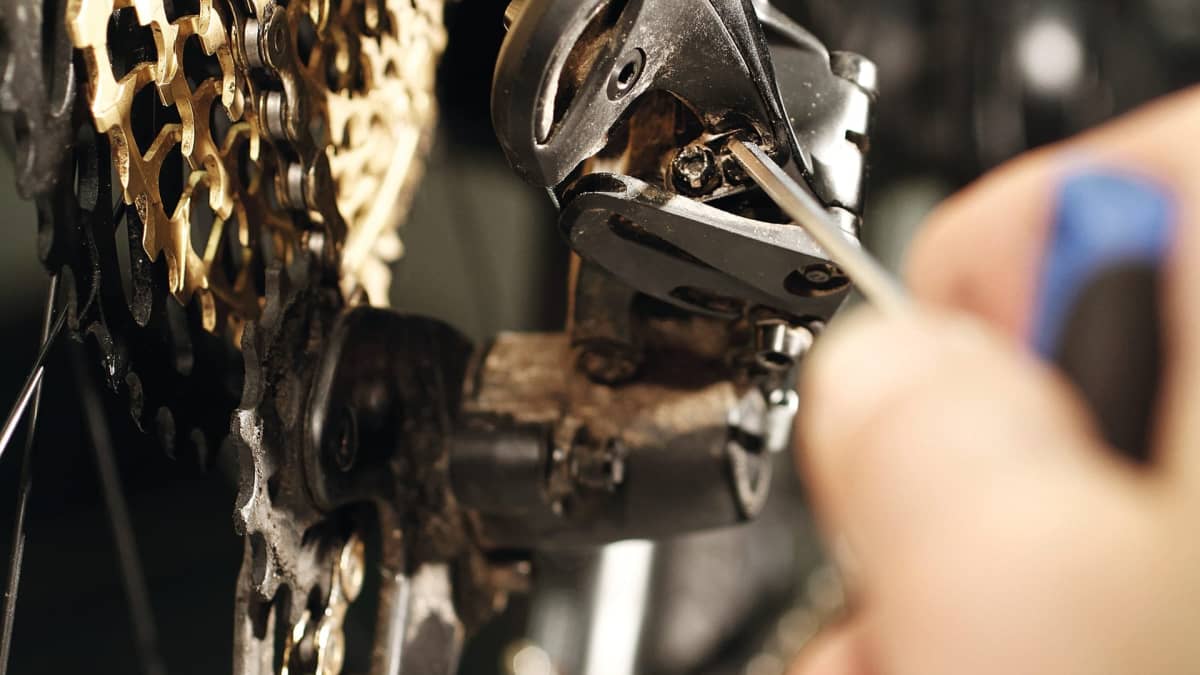
1. the crux with the B-gap (wrap-around)
Many people only concentrate on the tension when adjusting and forget about the B-screw. This regulates the distance between the upper derailleur pulley and the cassette. If the distance is too large, the shifting is spongy; if it is too small, the chain rattles and the shifting becomes extremely loud. Particularly with modern 12-speed drivetrains (SRAM Eagle or Shimano XT), this gap must be set exactly according to the manufacturer's specifications - ideally with the appropriate setting gauge.
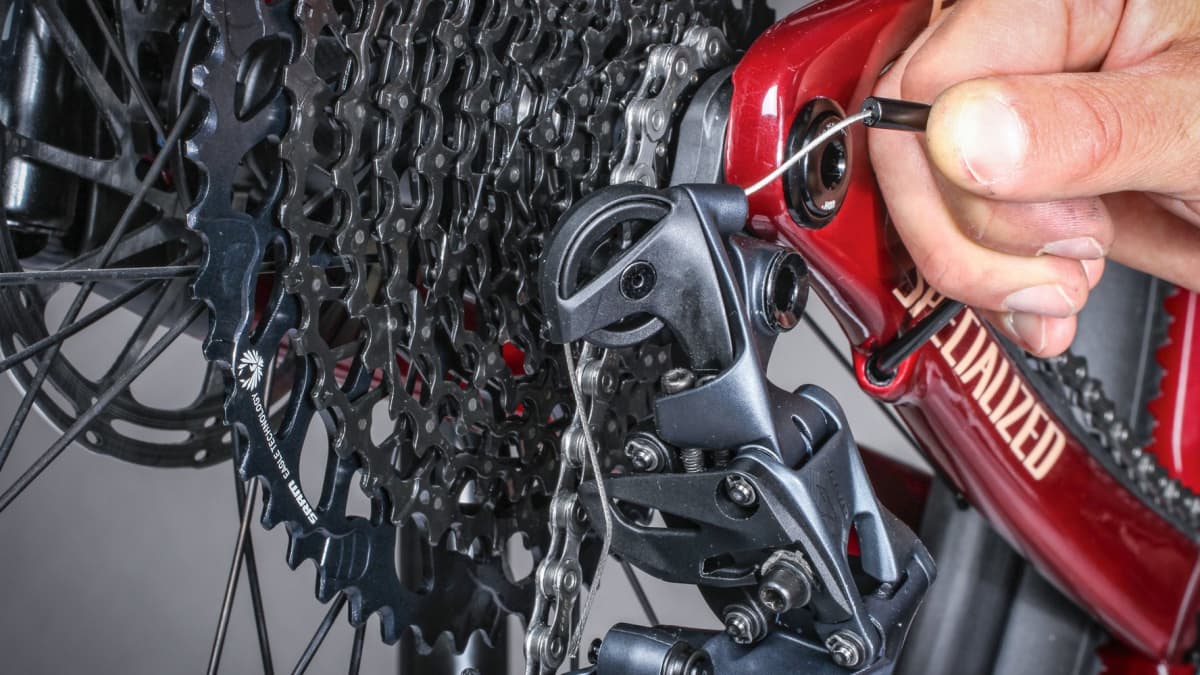
2. H and L screws: the safety guards
The stop screws (H for high gear/small sprocket, L for low gear/large sprocket) are not shifting aids, but mechanical limits. The upper and lower stop screws on the rear derailleur limit the movement radius of the chain and prevent it from running beyond the largest or smallest sprocket.
- The mistake: Screwing the bolts in too far, which prevents the chain from climbing cleanly onto the end sprockets.
- The danger: If the L-bolt is too loose, the rear derailleur can move into the spokes - which usually means damage to the wheel, rear derailleur or frame.
3. blind trust in the derailleur hanger
Are your gears shifting incorrectly in the centre of the cassette, but well at the top and bottom? Then it is usually not the tension that is to blame, but a bent derailleur hanger. Even laying the bike gently on its right side can deform the soft aluminium. You won't get any further without a straightening tool - straightening or replacing the derailleur hanger is often the only way back to perfect performance.
4. outdated or dirty trains
Modern shifting systems work with high spring tensions. If the friction in the outer casing increases due to dirt or corrosion, downshifting to the smaller sprockets becomes a pain.
- Our tip: Invest in high-quality, sealed standard sets. And important: Lubrication is taboo with coated cables - grease only causes the mechanism to stick!
5. missed the time of wear
If you ride a chain too long, you will ruin the cassette and the chainrings at the same time. A lengthened chain will never shift as crisply as a fresh one.
- The check: Get yourself a Chain gauge. As soon as the 0.5% or 0.75% mark is reached, the chain must come off. Replacing it in good time saves expensive follow-up costs for the entire drive.
- Check cassetteUnfortunately, there is no dedicated tool for measuring cassette wear. The only thing that helps here is a closer look. Take a close look at the teeth of the sprockets, especially those in the gears you ride most often (usually the smaller, hard gears). The teeth are pointed like on a saw or look like Shark fins. They appear to be "bent" in one direction. If you see razor-sharp burrs on the sides, the metal has already flowed away - the cassette is through.
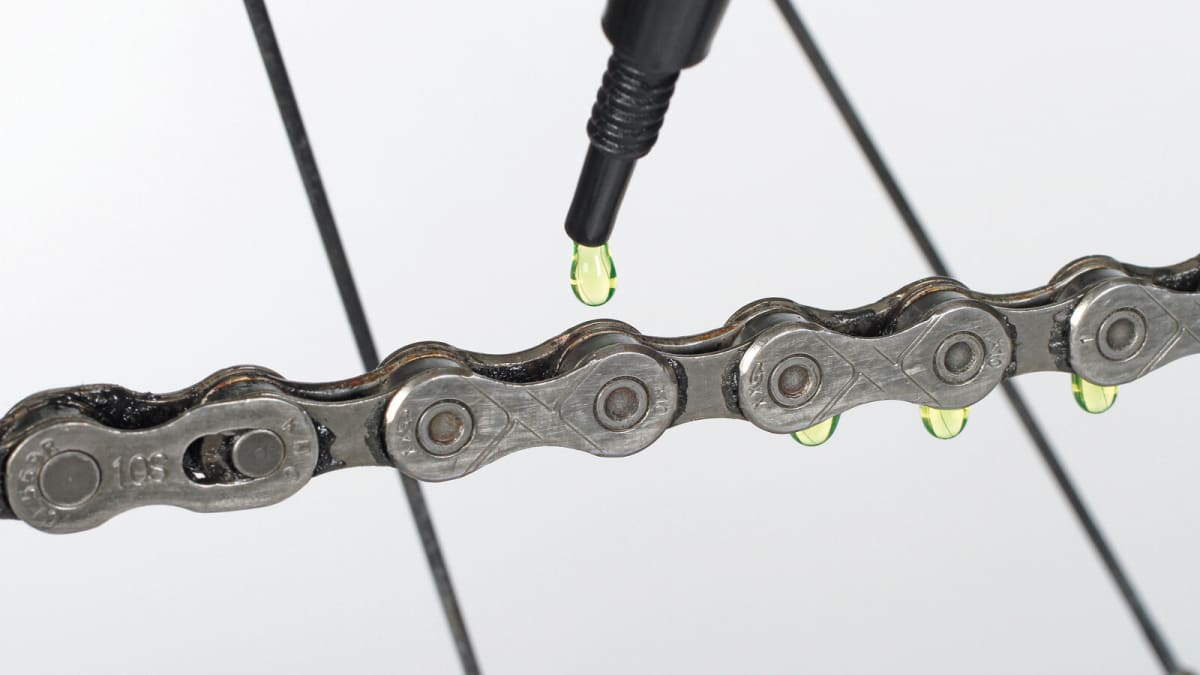
6. over-lubrication: the "dirt magnet"
A lot helps a lot? The opposite is true for chain oil. A chain dripping with oil magically attracts dust and sand. This mixture acts like sandpaper on your sprockets.
- This is how you do it right: Drip each chain link individually, allow to act briefly and then wipe the chain with a cloth. Wipe dry thoroughly. The lubrication should only be on the inside of the bolts, not on the outside of the lugs.
7. neglected shift rollers
They are the silent heroes of your drivetrain: the small cogs in the gear cage. If a thick layer of old grease and forest floor accumulates there, the lateral guidance of the chain suffers. Carefully scrape off the grime regularly and check whether the rollers still rotate smoothly.

Conclusion:
A perfect drivetrain is not a product of chance, but the result of cleanliness and precision work. If you pay attention to these seven points, rattling chains and jumping gears will be a thing of the past. See you on the trail!

Stefan Frey
Editor
