


In this article, we use so-called affiliate links. With every purchase through these links, we receive a commission from the merchant. All relevant referral links are marked with . Learn more.
A squeaky brake is a nuisance, a wandering pressure point is unsettling, and a total failure is every rider’s nightmare on the trail. Whilst we invest hundreds of euros in the latest four-piston brake system, braking performance often falls short due to minor technical details. Professional know-how is what makes the difference here between average deceleration and brutal stopping power. If you invest a little time in your brakes, you can drastically improve the safety of your bike. Here are the most common mistakes made when maintaining disc brakes:
1. Incorrect alignment of the brake caliper
Many mechanics rely on the ‘quick method’: loosen the bolts, pull the brake lever, then tighten the bolts. The problem is that if the pistons do not extend in perfect synchronisation, the disc will become warped on one side when braking.
- Better: Align the brake caliper by visual inspection; whilst this method is a little more time-consuming, it is more reliable. The aim is to achieve an even gap on both the left and right between the brake pad and the disc. This is the only way to achieve a firm bite and minimise annoying squeaking.
2. Lubricant contamination
One careless splash of chain oil or spray wax whilst cleaning – and your braking performance is ruined. A common mistake is to clean the discs with oil-based products or to touch them with bare hands during maintenance (skin oils!).

- Tip: Only use a specialised brake cleaner or high-strength isopropyl alcohol. Once your brake pads have become greasy, the only solution is usually to replace them, as capillary action draws the oil deep into the pad.
3. Incorrect braking (locking up)
Probably the most common mistake when using new components: braking too hard too soon from high speeds. If you start a descent with new brake pads and/or new brake discs and suddenly brake hard, you risk brake fade and the pads becoming glazed – the surface becomes as smooth as glass and you lose braking bite.
- Correct: Start by running new components briefly at walking pace. Then accelerate to around 30 km/h and brake hard until you’re almost at a standstill (don’t lock the brakes!). Repeat this about 20 times. It is only through heat that the binding agents in the brake pads cure, resulting in full friction. Here you’ll find our top tips on braking in full >>
4. Mixing brake fluids
A chemical death sentence for any brake: mixing up mineral oil (Shimano, Magura, Campagnolo) and DOT fluid (SRAM, Hayes, Trickstuff).
- Please note: DOT and mineral oil They are not compatible and will immediately damage the wrong type of seals. If you fill the system with the wrong fluid, the seals will swell up and the system will usually be a write-off. Always check the label on your brake lever!
5. Ignoring compatibility (resin only)
A common misconception: “Sintered brake pads always provide better braking performance.”
- Correction: Many low-cost brake discs are soft and bear the inscription ‘Resin Pad only’. If you fit hard sintered metal pads to these discs, you risk the disc overheating and suffering severe wear within just a few runs. Organic pads, on the other hand, work perfectly on any disc.
6. Inadequate venting
Air pockets are the cause of a spongy pedal feel. Many people are put off by the effort involved, but air rises when heated and can lead to total failure of the master cylinder.
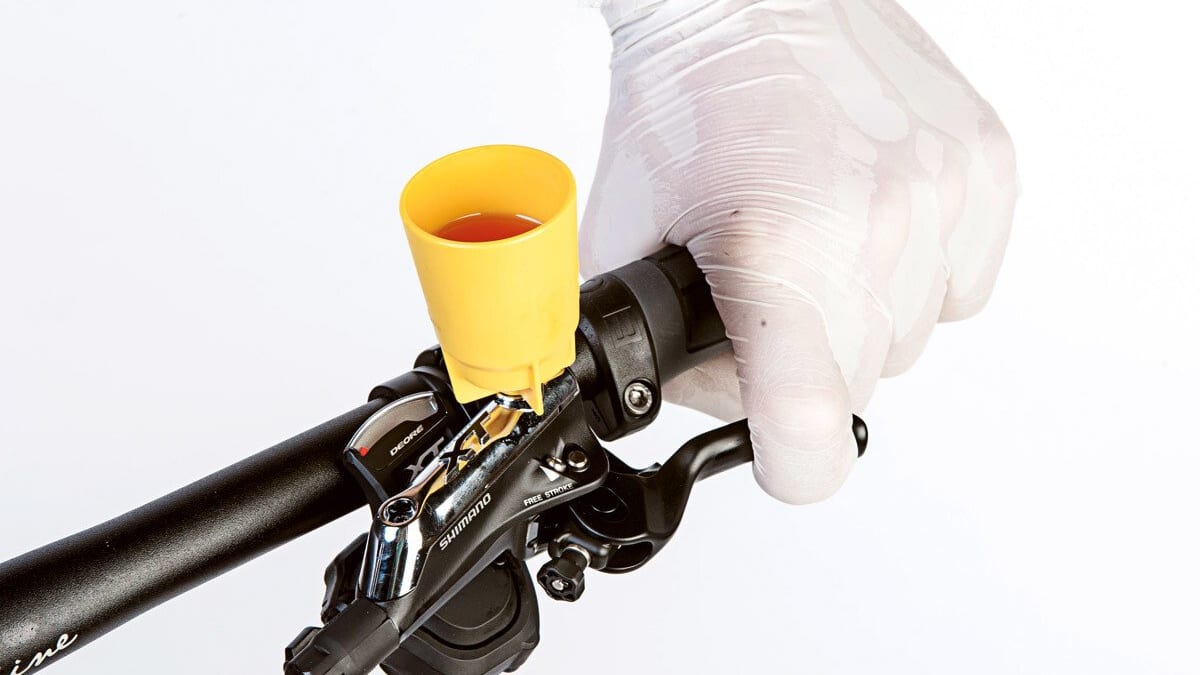
- Correct: Always use the correct bleed kit for your brakes. Here’s a handy tip from the workshop: whilst bleeding the brakes, gently tap the brake caliper and the hose with a plastic handle to dislodge any stubborn air bubbles.
7. Neglecting braking techniques
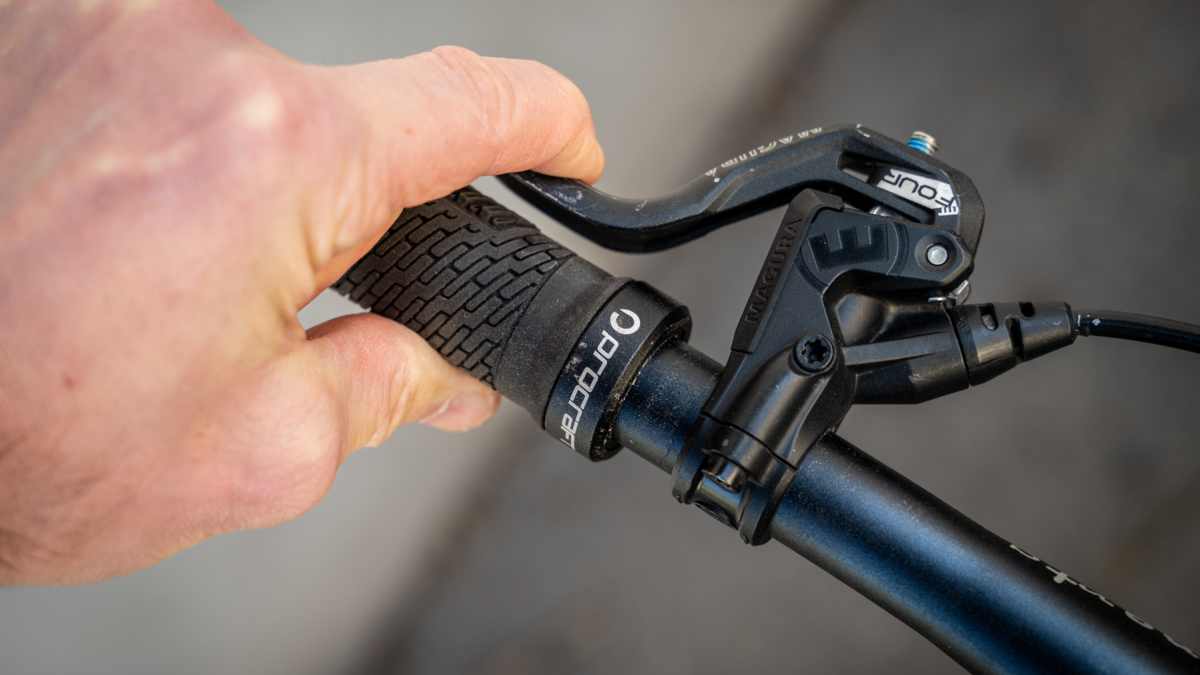
Maintenance starts with how you ride. Continuous braking on long descents leads to ‘fading’ (heat build-up).
- Pro tip: Use intermittent braking. Apply the brakes briefly and firmly, then release them completely so that the disc can cool down in the airflow.
THE PRO TIP: Piston maintenance before changing the brake pads
The most important step that almost all DIY enthusiasts forget: Cleaning the pistons before pushing them back.
When fitting new brake pads, you must push the brake pistons back into the caliper. If you do this without cleaning the pistons first, you’ll be forcing the brake dust and grime that has built up over the last few months right past the delicate seals and into the brake caliper.
Here’s how to do it properly:
- Remove old floor coverings.
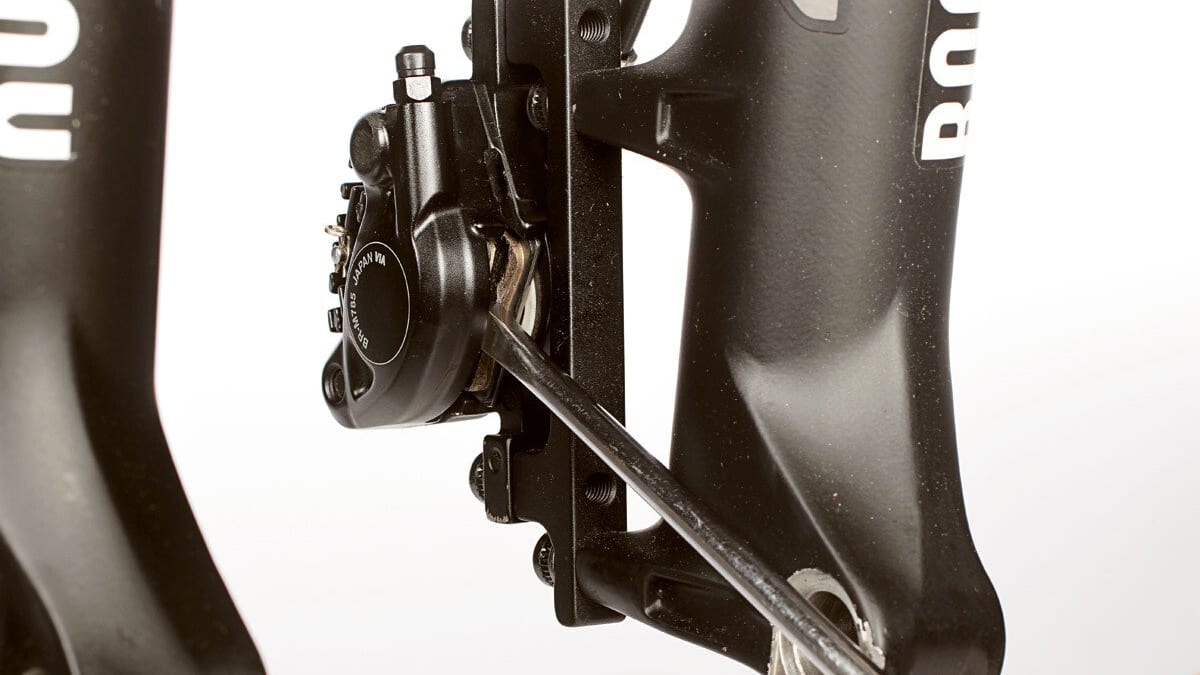
- Carefully pump the piston out a little (not too far!).
- Clean the rim of the pistons using a cotton bud and brake cleaner (or the relevant mineral oil).
- Only now should you push the pistons back until they are flush using a plastic tyre lever.
This prevents the pistons from ‘seizing up’ and ensures that your brakes open perfectly and do not drag, even after the pads have been replaced.

Stefan Frey
Editor