


Conclusion by Max Fuchs, BIKE test editor
A loose headset is a minor problem that many people underestimate. Yet this unassuming bearing point has a major influence on how safe, precise and smooth a bike rides. Checking it is one of the simplest maintenance tasks of all and should therefore be carried out regularly. A correctly adjusted and undamaged headset not only improves handling but also extends the service life of the bearings. Riding with persistent play in the headset significantly accelerates wear and risks causing further damage. However, the opposite can also be a problem: a headset that’s set too tight makes the steering stiff and also affects handling. Finding the right balance is crucial – free of play, yet smooth and easy to turn.
Many cyclists ignore the early warning signs – yet a loose headset can not only spoil the riding experience but also cause damage in the long run. Regular checks are particularly important for mountain bikes and e-MTBs, which are subjected to greater stress due to higher forces and harder impacts.
How to spot a loose headset
The test takes just a few seconds and is one of the simplest maintenance checks you can carry out on your bike. First, apply the front brake and move the bike gently forwards and backwards. If you feel a click or any movement between the fork and the frame, this indicates play in the headset. You can pinpoint the problem even more precisely by placing one hand on the junction between the head tube and the fork. If you can feel a slight clicking sensation there when braking or moving the bike, the headset needs tightening.

Why does a tax rate become more lenient in the first place?
A common reason is the normal settling-in of the components. Particularly with new bikes, bearings and components can shift slightly after the first few rides, causing the preload to be lost. However, heavy use, frequent impacts off-road or incorrect assembly can also cause the headset to come loose. On e-MTBs in particular, greater forces act on the front end due to the higher system weight.
Adjusting the tax rate: Here’s how to do it properly
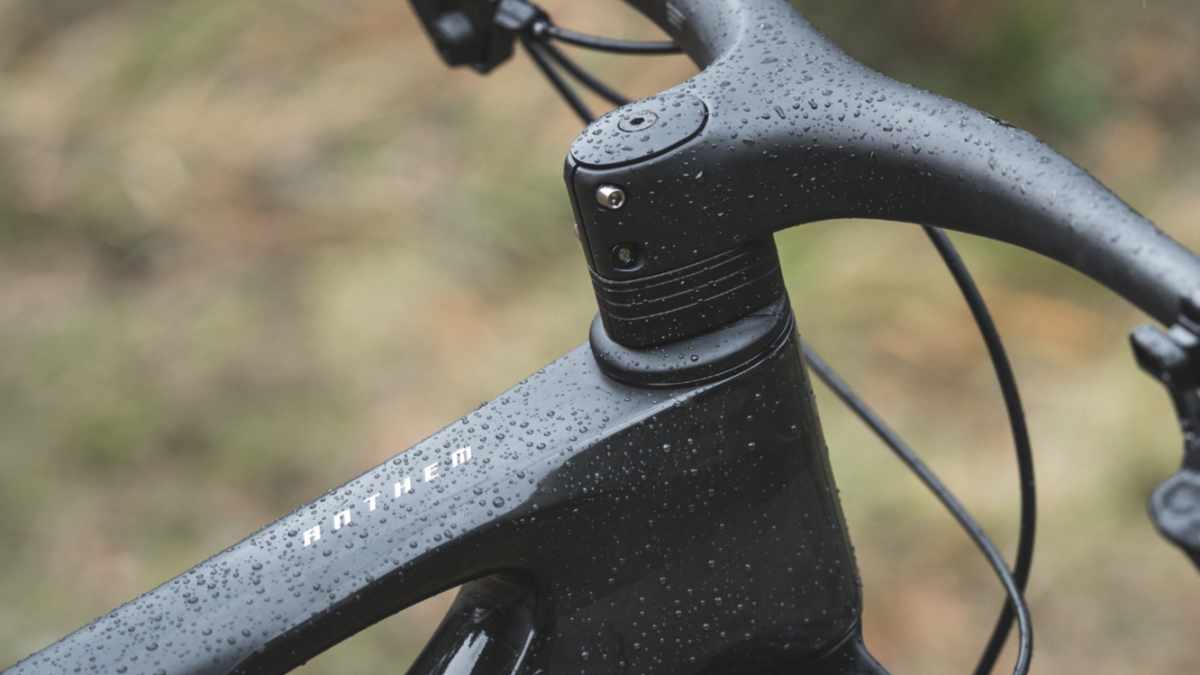
Adjusting a classic Ahead headset is generally straightforward – but following the correct procedure is crucial. First, slightly loosen the side clamping bolts on the stem. Next, adjust the headset preload using the screw in the fork steerer tube’s cap. Important: The Ahead screw is not intended to clamp the stem in place. It simply removes the play from the bearing.
The correct adjustment is achieved when there is no longer any play and the handlebars can still be moved smoothly. As a simple check, the bike can be tilted slightly to one side: the handlebars should then turn almost of their own accord in the corresponding direction. If the handlebars are stiff, the preload is too high. Next, align the stem and retighten it to the torque specified by the manufacturer.
Common mistakes when adjusting settings
The most common mistake when adjusting the headset is setting the preload too high. If the Ahead screw is tightened too much, the bearings can be damaged and the steering will feel noticeably stiffer. This becomes particularly apparent when riding hands-free: if you can no longer correct the bike’s direction with a gentle movement of your hips and find it difficult to maintain your balance, this is a sign that the preload is too high.
Another common mistake often occurs in the heat of the moment – particularly when you’re on the move and need to quickly eliminate any play: the stem bolts aren’t loosened. If the stem is still clamped tightly to the steerer tube, you can tighten the Ahead bolt as much as you like – the play will still not disappear. The reason: the stem prevents the bearings from actually being preloaded. That’s why you must always follow the correct sequence: loosen the stem, adjust the play, align the stem and then secure it again using the correct torque.

Max Fuchs
Editor