
With the right instructions, adjusting the gears is no problem. And changing wearing parts is not rocket science either. In our series of articles, we show you how to do it in detail. But before you get started, you need to be clear about which shifting system you have on your bike. This is because some of the systems differ fundamentally.
Adjusting the gearstick
Shimano and older Sram gears
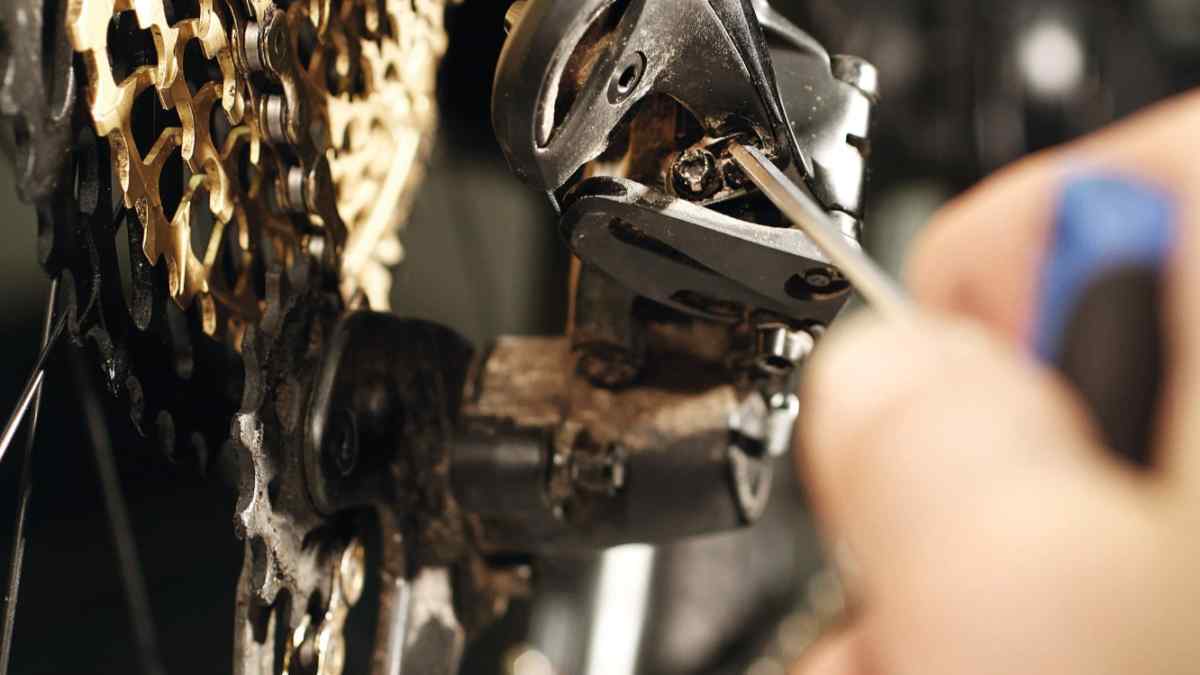
The rear derailleur is mainly responsible for gear changes. Whether Sram or Shimano, the design of classic derailleurs has been very similar for years. Only since the new Sram Eagle Transmission have there been fundamental differences, especially in terms of adjustment and mounting. In the first step, we look at the setup for the classic version, as it is also used in current Shimano shifters. Older Sram derailleurs (VOR T-Type/Transmission/Full-Mount) work according to the same basic pattern and the setup also follows the same logic. Here in the link you can find out in detail how to set your Shimano or older Sram rear derailleur correctly
Sram Transmission rear derailleurs with T-Type or Full mount
No screws for the end stops, no adjustment of the wrap: The new Sram transmission rear derailleurs with T-Type technology rely on a completely unique, standardised mounting system and a new adjustment logic. The direct mounting of the rear derailleur on the frame is central, without any derailleur hanger. Thanks to exact specifications for the standardised dropout on the bike, the distance from the rear derailleur to the individual cassette sprockets should always be identical, which makes many adjustment steps unnecessary and should leave less room for incorrect settings. All Sram groupsets have now been converted to transmission technology. The principle is now also available mechanically in the more affordable segment (Eagle 70, Eagle 90), after the first generation (AXS) operated exclusively electronically via radio. Here in the link you will find a step-by-step guide to setting up your Sram Eagle Transmission rear derailleurs.
Adjusting the front derailleur with multiple chainrings
You don't (yet) have a single drivetrain, but an MTB drivetrain with several chainrings at the front of the crank? Then you need to set your front derailleur correctly in addition to the rear derailleur. The ideal procedure for adjusting your derailleur can be found here in the link.
Replacing wearing parts
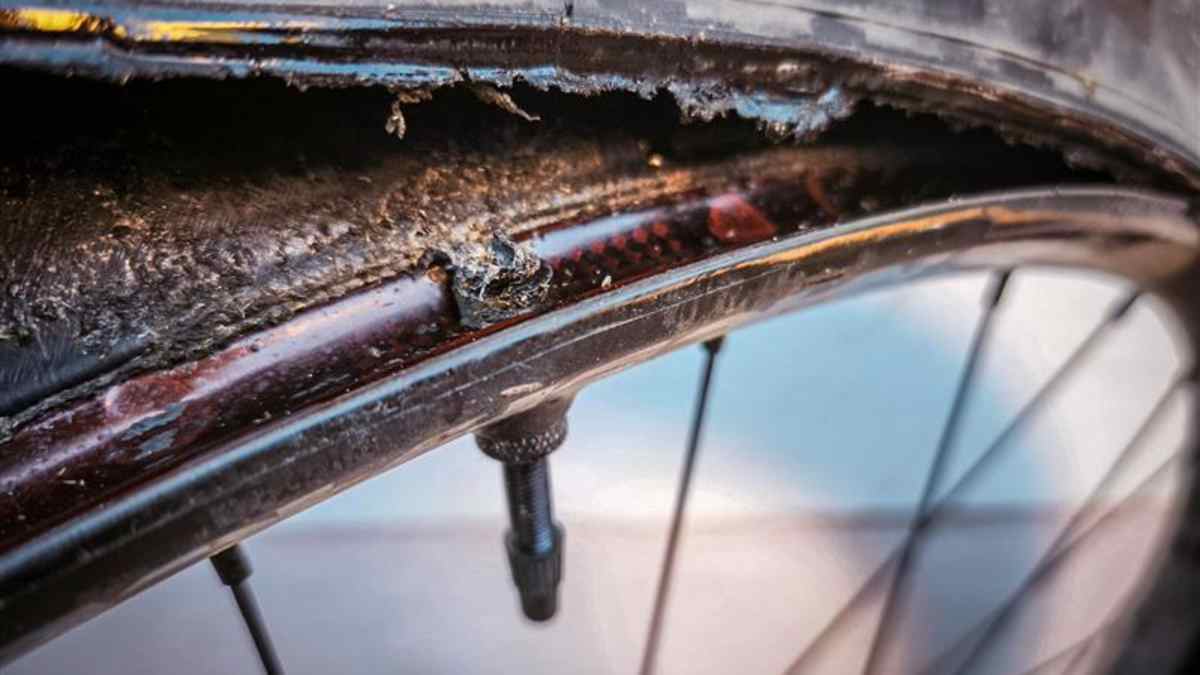
The gears are perfectly adjusted, but the gears are still jumping or the chain is slipping? Then the chain or cassette are probably worn. Whether a chain is still good or worn can be recognised with a wear gauge. You can find out exactly how to do this and how to change a chain with a rivet or chain lock here in the link.
To protect the cassette and sprockets, the chain should be changed early on. However, the sprocket set also needs to be changed at some point. Important: check which cassette fits your bike. You need to consider the make, number of gears and the freewheel. The easiest way is to replace the installed cassette 1 to 1, then nothing will go wrong. Attention: current components from Sram and Shimano cannot be mixed! In this link we explain step by step how you can change the cassette yourself and which tools you need.
Changing the shift cable
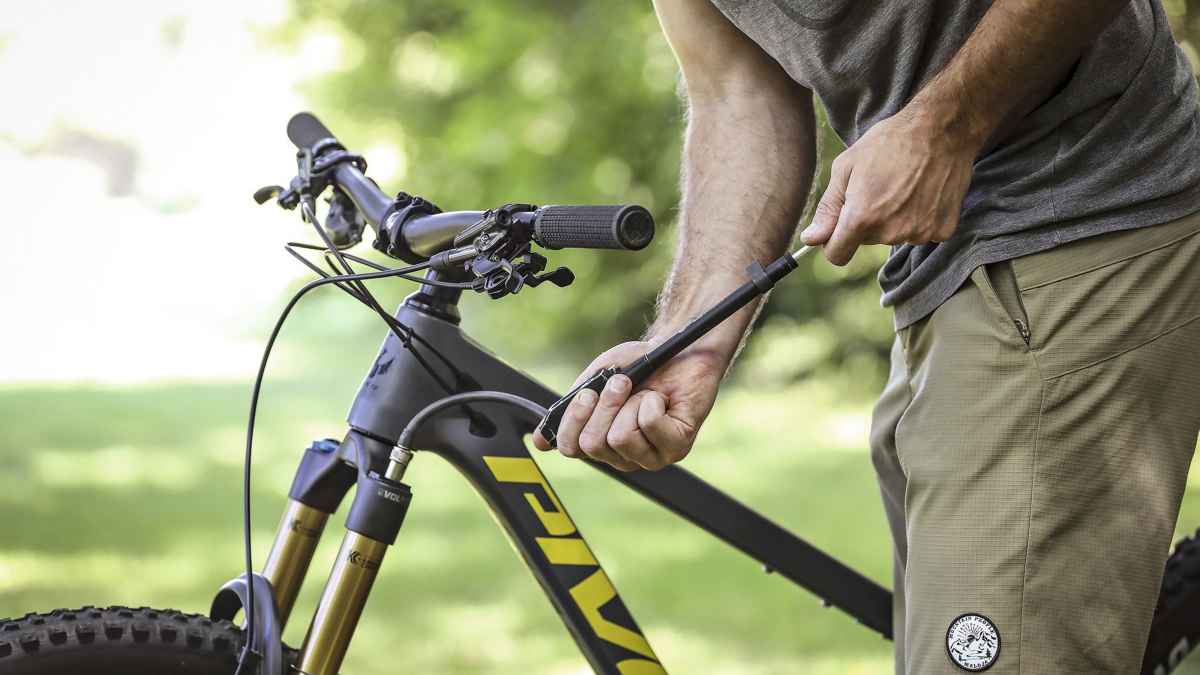
The shift cable is also a wearing part. Dirt and rust in particular can restrict the smooth running of the Bowden cable in its housing. The rear derailleur spring then has to work against this resistance and gear changes become imprecise. A new derailleur cable can help. But dirt also collects in the outer sheaths. Ideally, these should be replaced at the same time. However, in times of integrated cable routing through the frame, this can become complicated. We describe a smart and simple way to change the outer covers in this link.

Florentin Vesenbeckh
Editor CvD
