


Dust, water, salt and mud take their toll on your chain. To keep the drivetrain running smoothly, it needs regular attention. It’s not about using as much oil as possible, but about following the correct sequence: remove dirt, dry thoroughly, lubricate in the right places and wipe off any excess. The cassette, chainring and derailleur pulleys also need looking after. If deposits are left behind there, the dirt will quickly end up back on the clean chain. You don’t need a large workshop or harsh chemicals to do this. Five common mistakes – and five tips on how to do it properly.
Before you set off: Your checklist for chain maintenance
- Lint-free cloths: For cleaning, drying and wiping off excess oil. Have a clean cloth to hand for the final step.
- Soft, narrow brush: For removing coarse dirt and cleaning the gaps between the cassette, chainring and derailleur pulleys. An old toothbrush is useful for getting into tight spaces.
- Lukewarm water and a suitable cleaning product: A mild, pH-neutral cleaner for light soiling; for stubborn residues, use a drivetrain cleaner approved by the chain manufacturer. A suitable chain cleaner dissolves old oil residues and caked-on dirt and can be removed without leaving any residue, following the instructions.
- Bicycle chain oil in a dropper bottle: Wet-weather chain oil for frequent rides in the rain and mud; an oil specifically designed for dry conditions is used for dusty rides. In changeable conditions, an all-round chain oil is used.
- An optional assembly stand: It makes it easier to access the drive.
And wax? An alternative method of chain lubrication, which we have deliberately excluded here. This guide deals exclusively with chain oil.

Are household and DIY shop products suitable?
Mild, pH-neutral washing-up liquid can be mixed with water and used for basic cleaning. Turpentine, turpentine substitutes, silicone removers and brake cleaners are not suitable for chain maintenance. Their grease-dissolving power alone does not make them suitable chain cleaners, as they also dissolve the lubricant inside the chain – which is counterproductive. Completely degreasing the chain makes sense, for example, if you want to switch to wax. Acidic cleaners, rust removers and strongly alkaline agents should also be avoided.
1. The mistake: applying fresh oil to a dirty chain
That’s not right
The chain is squeaking, so I’ll apply some fresh oil. However, this removes neither sand nor dust. Combined with excess oil, this creates a mixture of grime that accelerates wear and tear.
Here’s how to do it properly: clean first, then lubricate
- Removing coarse dirt: Carefully brush off any loose soil. Loosen any stubborn mud with water and brush it off.
- Wiping the chain: Let the chain run slowly through a cloth. Keep your fingers and the loose ends of the cloth away from the chainring, cassette and derailleur pulleys.
- Clean again if necessary: Remove sticky residues using a suitable cleaner and a brush. Follow the product instructions regarding the soaking time and rinsing.
- Include contact surfaces: Clean the spaces between the sprockets, the chainring and the derailleur pulleys with the narrow brush. Otherwise, any dirt left behind will end up back on the chain.
2. The mistake: harsh chemicals and steam cleaners
That’s not right
A high-pressure water jet can force water and dirt into sensitive areas. Harsh chemicals can damage materials. Higher pressure and stronger cleaning agents are therefore not a good shortcut.
How to do it properly: working in a way that protects the material and targets the area effectively
- Use cleaning products sensibly: If the instructions allow, apply the product to the brush rather than spraying it over the entire drive. Protect the brake discs and brake pads from the cleaner and oil.
- Brushing rather than scratching: Work carefully between the sprockets and on the shift rollers, using a series of gentle movements. Do not use any sharp-edged metal tools.
- Gentle rinse: Rinse off any cleaning residue in accordance with the product instructions, using low water pressure. Do not direct the jet specifically at bearings and seals.
3. The mistake: applying oil to a chain that is still wet
That’s not right
Once the bike has been rinsed, it’s straight on to the oil. At this stage, there may still be water and cleaning residue on the drivetrain. Drying should therefore be carried out as a separate step between washing and lubrication.
Here’s how to do it properly: dry first, then oil
- Wipe off the water: First, wipe down the chainring, cassette and derailleur pulleys to ensure that nothing drips onto the chain from there.
- Drying the chain: Move slowly and wipe in sections using a clean cloth. If the cloth becomes damp, use a dry part of it.
- Allow for air drying: Leave the bike in a dry, well-ventilated place. How long this takes depends, amongst other things, on the temperature and humidity.
4. The mistake: generously oiling the entire chain
That’s not right
A shiny, wet chain looks well-maintained. However, excess oil on the outer surfaces attracts dirt. The key is to lubricate the moving contact points, not to soak the entire drive.
Here’s how to do it properly: measure out the right amount and remove any excess
- Select a starting point: Start at the chain lock or another easily identifiable link. This way, you’ll treat the entire chain in one go.
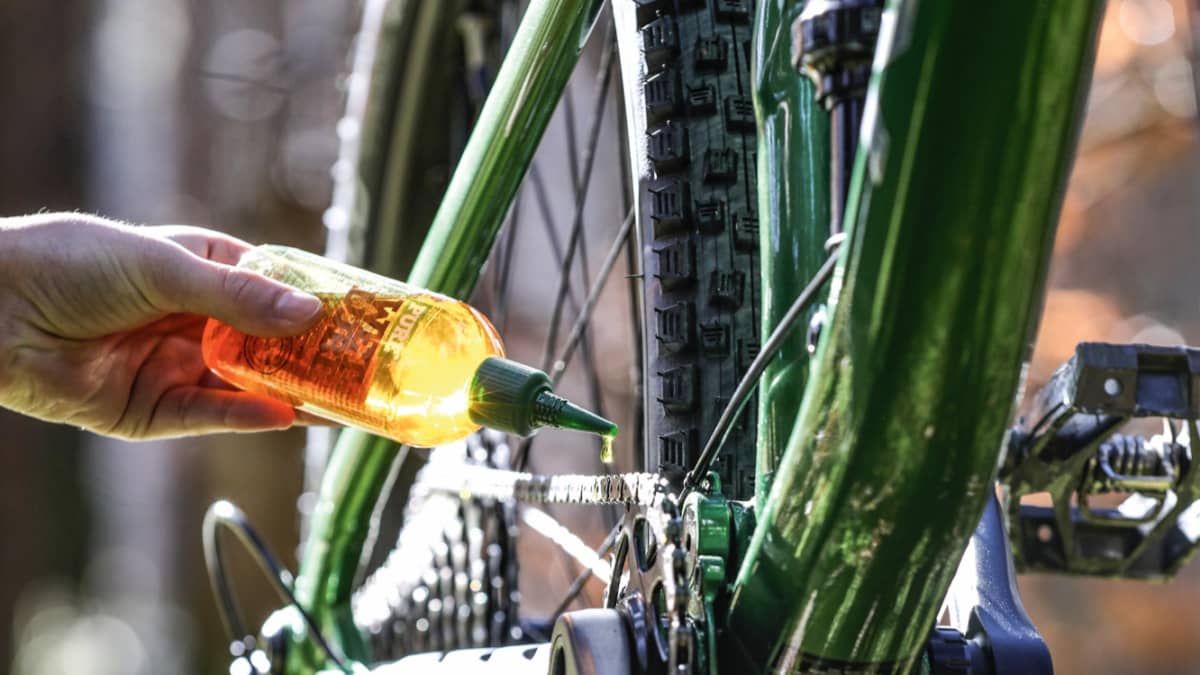
- Targeted wetting of rollers: Position the drip tip on the lower chain strand on the inner side facing the drive.
- Allow to soak in: Follow the oil manufacturer’s instructions. Some products take a while before the chain is ready for use again.
- Wipe off any excess: Then wipe the outer surfaces thoroughly with a clean cloth. Do not apply any additional oil to the cassette or chainring. Instead, run the chain completely round all the sprockets once.
5. The mistake: always keeping the same rhythm
That’s not right
Cleaning it every Sunday and re-oiling it every three rides: that ignores the actual conditions. A dry evening ride puts a different strain on the drivetrain to a muddy ride. What matters is the condition of the drivetrain after the ride.
How to do it properly: assessing care needs based on the nature of the task
After your ride, check for dirt, moisture and any unusual running noises. Not every ride requires a full clean. This routine will help you decide:
| Situation | Check | Next step |
| Dry Tour | Dust, deposits, running noises | Wipe the surface clean; only reapply oil if necessary. |
| Mud run | Check the entire drive system for any dirt that may have become lodged on it | Clean, dry and then oil. |
| Driving in the rain | Moisture and dirt ingress | Drain off the water, dry it and check the lubrication condition. |
| Longer service life | Rust, stiff joints, uneven running | Check the condition; do not simply oil over any irregularities. |

Josh Welz
Editor-in-Chief