


The new suspension is fitted, the tyres are brand new and your helmet fits perfectly – yet the trail still feels a bit sluggish? Before you start thinking about new parts, it’s worth taking a look at your riding technique. Because often it’s not the bike that’s holding you back, but little habits. Not every bit of extra speed comes from the workshop. Often, just a few centimetres’ difference in your riding position, the right line of sight or a well-judged braking point can make all the difference to how smoothly you ride a trail. These five mistakes cost you unnecessary speed – and are surprisingly easy to avoid.
1. Standing too far back
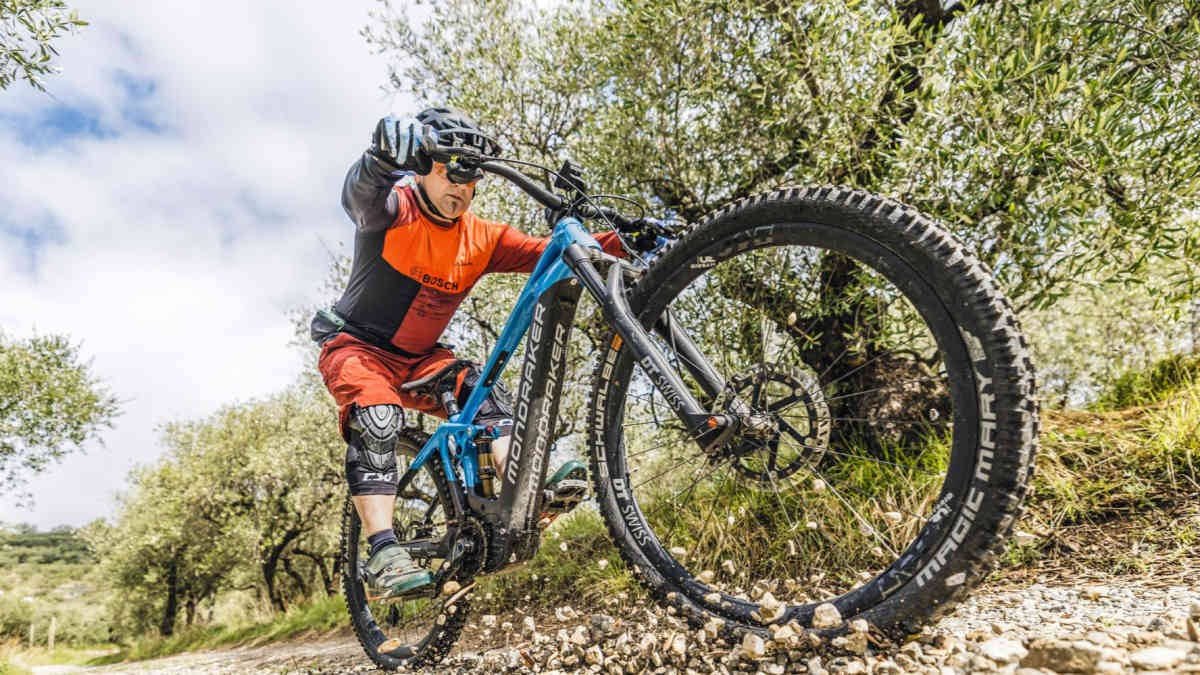
The classic mistake: as soon as the trail gets steeper, your centre of gravity shifts far behind the saddle. Whilst this may initially give you a feeling of security, it can take too much weight off the front wheel. The result: the bike steers imprecisely, loses grip in bends and starts to skid slightly on loose ground. A central position over the bike is better. Keep your arms and legs slightly bent so they actively act as extra suspension. This ensures that both the front and rear wheels maintain even contact with the ground. Your position on the bike changes when braking. If you feel you’re sitting too far back, you should also review your braking technique (see point 4).

2. Tense arms and shoulders
If you cling tightly to the handlebars, every bump is transmitted directly to your upper body. At the same time, the bike is unable to work effectively beneath you. Loose arms and relaxed shoulders ensure that the suspension can work to its full potential. This not only improves comfort but also increases control on rough sections. A quick test: can you move your fingers slightly whilst riding downhill? If not, you’re probably gripping the handlebars too tightly. Tension is also often a result of fatigue. Regular strength and fitness training for the core and upper body can help you stay relaxed in the long term.
3. Wrong perspective
The bike often goes where you’re looking. Many riders focus on the rock or root directly in front of the front wheel – and as a result react too late to what lies ahead on the trail. Instead, try to let your gaze wander several metres ahead along the trail. This way, you’ll spot bends, steps or loose sections sooner and can adjust your line in good time. Eye movement is one of the most important elements of mountain biking technique.
4. Braking too late
Braking is one of the key safety skills in mountain biking. Yet riders often only start to slow down halfway through a bend or just before an obstacle. It is more efficient to reduce most of your speed before entering the bend. Whilst cornering, the bike can then focus on grip rather than having to cope with both braking and lateral forces at the same time. The result: greater control, higher cornering speed and a smoother ride. Timing and braking technique can be practised almost anywhere with just a few simple aids. Take an hour to practise braking using cones or water bottles in an empty car park – it’ll be well worth it!
5. Ignore the ideal line
Not every line is the fastest. Sometimes a slightly longer route is smoother and safer than the direct line over large rocks or deep ruts. Experienced riders analyse the trail whilst still approaching it. They look for sections with good grip, avoid unnecessary jolts and link individual bends into a harmonious line. With a bit of practice, this route analysis becomes second nature. Section training can help you break a trail down into small chunks and develop an eye for the ideal line in each section.
Small exercises with a big impact
Regular technical training often leads to greater progress than new components. Even on simple trails, you can practise important skills:
- Deliberately looking further ahead
- Negotiating bends without unnecessary braking
- Check your core posture regularly
- Stay relaxed on the bike and let the bike do the work beneath you
- Try out different lines and compare their effects
Conclusion
Riding downhill faster doesn’t always mean taking more risks. Often, small adjustments to your posture, where you’re looking or how you brake are enough to make your ride much smoother and safer. If you practise these basics regularly, you’ll gain confidence and be able to tackle even more challenging trails with greater control. - Jan Timmermann, BIKE editor
What do you think: what are the most important riding technique tips for picking up speed on the trail? Let us know what you think in the comments!

Jan Timmermann
Editor