


Ever since even major bike manufacturers such as Giant, Trek, Santa Cruz and Specialized have started supplying their bikes, at least in part, with a tubeless setup, tubeless systems have finally become mainstream. The advantages of tubeless are obvious and have been repeatedly confirmed in laboratory measurements and practical tests.
In terms of rolling resistance, you can save several watts compared to a butyl inner tube. When it comes to puncture protection, there’s a world of difference between inner tubes and tubeless systems. Snakebites? Out of the question. Punctures? The sealant usually seals them up whilst you’re riding.
More importantly, because the tubeless system is so puncture-resistant, the tyre pressure can be reduced significantly. This results in noticeably greater comfort off-road, a massive improvement in cornering grip and traction, and even more efficient, energy-saving roll behaviour.
Tubeless set-up – the pros and cons
And yet many cyclists remain sceptical. Complicated fitting. Sealing fluid that dries out. Tedious cleaning. There are plenty of arguments against tubeless tyres. Cyclists who want a ‘no-brainer bike’ – in other words, one they can just hop on and ride off on – are still particularly critical of tubeless systems.

Is this justified? Or is the caution surrounding sealant completely unfounded? We asked someone who should know. Mike Bush is Chief Product Officer (CPO) at Stan’s and has been studying the strengths and weaknesses of tubeless systems for years. In this interview, he reveals the dos and don’ts of tubeless set-up and explains how cyclists can get the most out of riding tubeless.

BIKE: How can you check whether there is still enough sealant in the system, or whether it has already dried out?
Mike Bush: The first sign of a low sealant level is often a significant loss of tyre pressure between rides. The easiest way to check this is to give the wheel a gentle shake before a ride – ideally when the bike has been standing for a while. If there is still enough sealant in the tyre, you should hear the liquid sloshing or splashing around.
If you have a bit more time, opening up the tyre bead is always the best way to check the sealant. Small dipsticks, whether bought from a shop or made yourself (e.g. a cut-off spoke), only give an indication of the approximate fluid level, not whether the sealant is in good condition or not.
How often should you change the sealant in a tubeless tyre?
This is undoubtedly one of the most frequently asked questions, but the answer is never as straightforward as one might hope; in other words, it depends. A number of factors influence the service life of the sealant in the tyre, including temperature and humidity during use and storage, the frequency of journeys, the amount of sealant originally filled in, the thickness of the tyre carcass, and so on. A very general guideline is to check the sealant every two to three months and top it up as required, depending on the individual situation.
Can I simply top up the sealant, or do I have to replace the entire contents?
Yes, in many cases, topping up is perfectly fine. If you cycle regularly and check the sealant level as described above, a quick top-up is more than enough. If the bike has been stored for a long period and the sealant has dried out, or if you notice that the components are separating, it’s best to give it a quick clean and top it up with fresh sealant.
During the tests in our laboratory, we used natural rubber erasers and a brush with nylon bristles fitted to an electric drill to remove dried-on sealant, which worked quite well. Mike Busch, Chief Product Officer (CPO) at Stan’s
What is the best way to remove dried-out sealant from a tyre?
In most cases, thorough removal is not necessary. A single dried-up puddle caused by prolonged storage should come away easily. Another exception is if you notice excessive build-up of dried sealant on the tyre bead; gently scraping it off with a plastic tyre lever or removing it by hand can make it easier to inflate the tyre.
Some sealants, including our Stan’s Original and Stan’s Race Day, do not form a thick layer as they dry, so in our experience, thorough cleaning is not necessary. With other sealants, however, a more thorough clean may be necessary. During tests in our laboratory, we used natural rubber erasers and a nylon-bristled brush fitted to an electric drill to remove dried-on sealant, which worked quite well.
Can I mix sealants from different manufacturers?
If there’s one thing I think all sealant manufacturers agree on, it’s that you shouldn’t mix different types or brands of sealant. Although the risk of damaging the tyre or wheel is low, the chemical compositions are rarely compatible, which can lead to the sealant setting too quickly or ‘going off’.
If a tyre has previously been filled with a particular brand and you then switch to a different brand, you should wipe the tyre thoroughly and leave it to dry. Then fill it with new sealant as usual – complications are extremely unlikely.
If there’s one thing that, in my opinion, all sealant manufacturers agree on, it’s that you shouldn’t mix different types or brands of sealant. Mike Busch, Chief Product Officer (CPO) at Stan’s
Is sealant compatible with a bicycle inner tube?
Yes, Stan’s Original can be used as a puncture protection product in butyl or latex inner tubes, but you should bear in mind that it will still dry out over time. The inner tube must have a removable valve core. Stan’s Race Day cannot be used in inner tubes, as the large particles do not fit through the valve stem. So there are definitely differences.
Stan’s sealants are also safe to use with TPU inner tubes when these are fitted to a tyre that has previously been used with the sealant. However, the current formula of Stan’s Original does not provide adequate puncture protection when used with a TPU inner tube.
What is the best way to pour the sealant into the tyre?
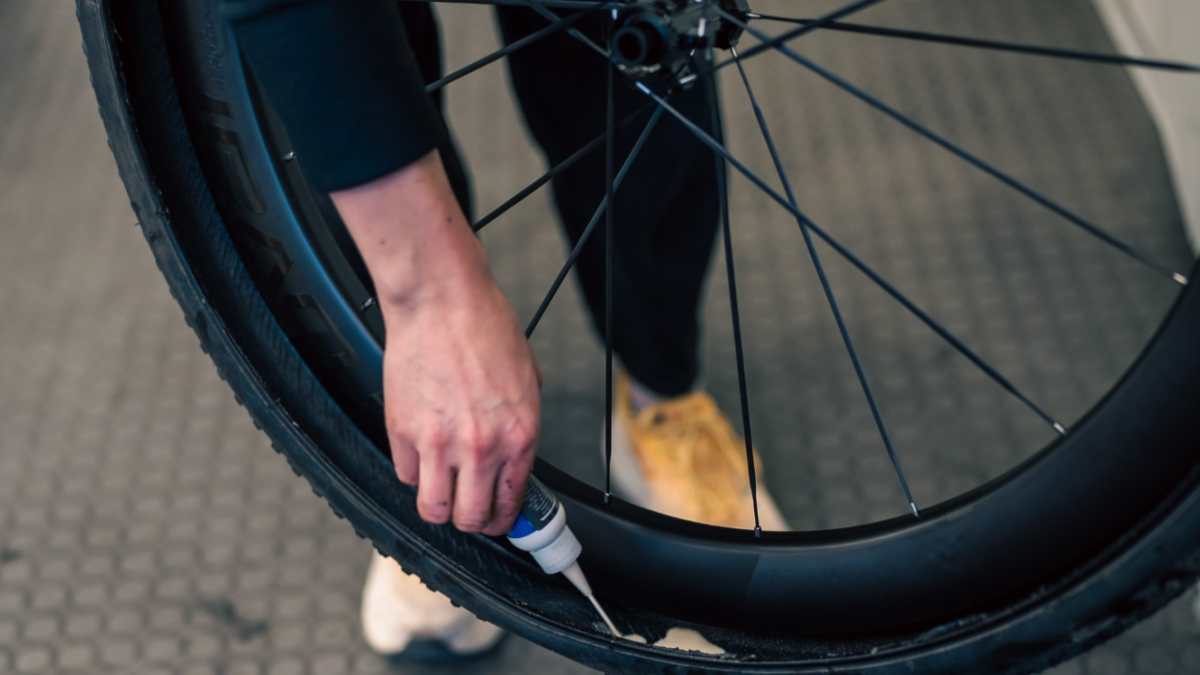
There are various ways to inject sealant into a tyre. Our top recommendation is to use a large syringe connected to the valve via a tube. This is the cleanest solution. We have even filed a patent application for our own tool, the ‘Sealant Injector’. It features a one-way valve and an air bypass channel in the injector body, so you can fill the injector without having to worry about drips or spills.
However, there are also specialised bottles, such as the ‘Stan’s Original’ in 60 ml and 125 ml sizes, with a cap that, once the valve insert has been removed, fits easily onto a Presta or Schrader valve, allowing you to fill your tyre directly from the bottle. Many cyclists own a bottle like this, which they then refill from larger bottles.
The other method, which is best suited to tyres with a larger cross-section – typically 40 millimetres or more – is to pour the sealant directly into the tyre. There are a few tips to make this easier, although a few drops of sealant are likely to end up on the floor. First, fit the tyre completely on one side, then start on the second bead, beginning opposite the valve, and leave the final section – around 15 centimetres or 4–6 spokes, depending on the wheel – open. Shake the sealant vigorously and then pour it into the tyre immediately, using the markings on the bottle as a guide, or continue pouring until the pool of sealant is 3–4 spokes wide. Now turn the wheel so that it is vertical, with the valve at the 12 o’clock position, to ensure the sealant is completely enclosed between the sealed beads. Then simply fit the remaining section – and you’re done.
How much sealant should go in the tyres? This table provides the answer
| Tyre size | Amount of sealant | Minimum quantity per bike |
| 700c x 40mm | 60ml (2oz) | 125ml |
| 700c x 32mm | 55ml (1.8oz) | 125ml |
| 700c x 28mm | 50ml (1.7oz) | 125ml |
| 650b x 47mm | 80ml (2.7oz) | 250ml |
| 29" x 3" | 140 ml (4.7 oz) | 500 ml |
| 29" x 2.8" | 130ml (4.4oz) | 500 ml |
| 29" x 2.5" | 125ml (4.2oz) | 250ml |
| 29" x 2.4" | 110 ml (3.7 oz) | 250ml |
| 29" x 2.3" | 105 ml (3.5 oz) | 250ml |
| 27.5" x 3" | 135ml (4.5oz) | 500 ml |
| 27.5" x 2.5" | 110 ml (3.7 oz) | 250ml |
| 27.5" x 2.4" | 105 ml (3.5 oz) | 250ml |
| 27.5" x 2.3" | 100ml (3.4oz) | 250ml |
| 26" x 5" | 230 ml (7.7 oz) | 500 ml |
| 26" x 4" | 175ml (5.9oz) | 500 ml |
| 26" x 1.95" | 80ml (2.7oz) | 250ml |

Stefan Frey
Editor